Steps to follow
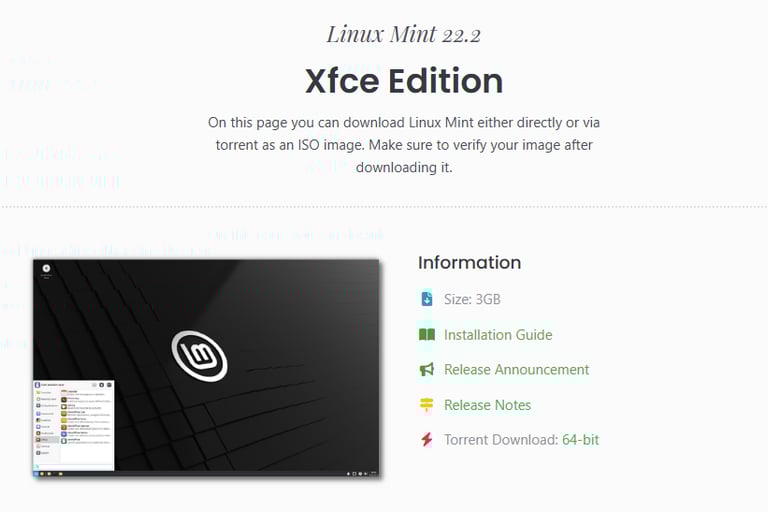
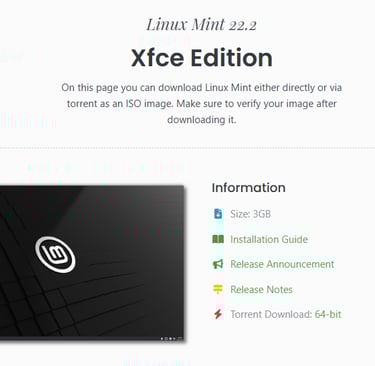
First download the latest Linux Mint version from the official link. https://linuxmint.com/download.php
My preference is Xfce Edition.
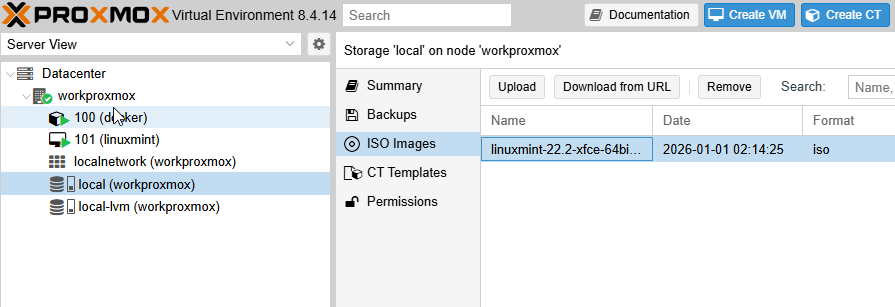
Login to ProxMox WebUI.
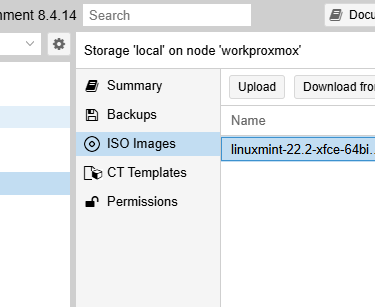
Select local storage from left navigation and upload the downloaded iso file.
Now, right click on homeproxmox and select Create VM with following specifications:
General Tab
VM ID : Designated a new ID number
Name : LinuxMint
OS Tab
Storage : local
ISO Image : select the iso file here.
Type : Linux
Version : 6.x - 2.6 Kernel (or similar)
System Tab
Defaults
Disks
Bus/Device : SCSI
Storage : local-lvm
Disk Size : 32 GB
CPU
Cores : 2
Defaults for the rest of options
Memory
Memory : 8192 MB (minimum recommendation is 4096)
Network
Defaults
Now, click confirm and Finish
Right click the newly created VM and click Start

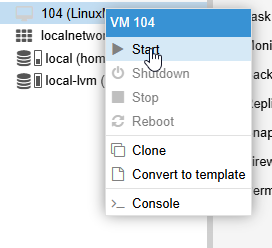
Now right click the newly created VM and click Start
Once the VM starts click on Console in the middle pane to open the console for the newly created

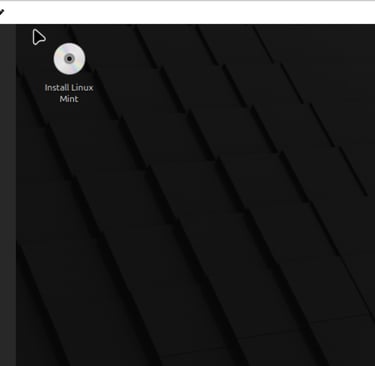
Double click the Install Linux Mint icon on the desktop
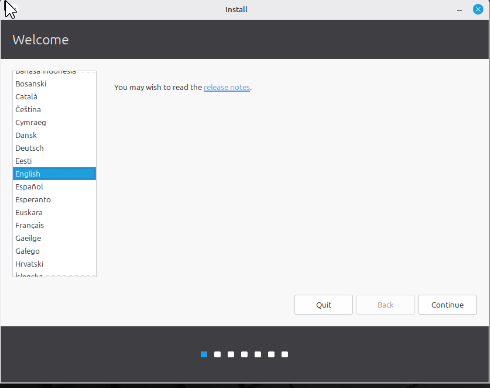
Select Language and Click Continue.
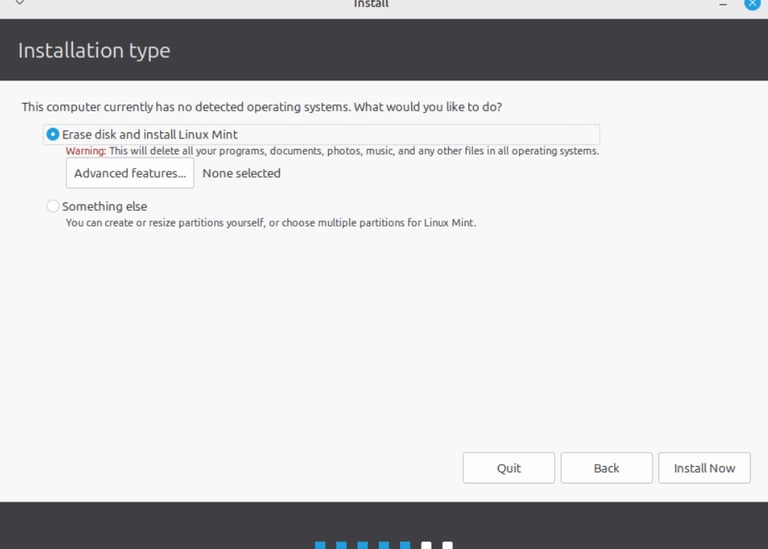
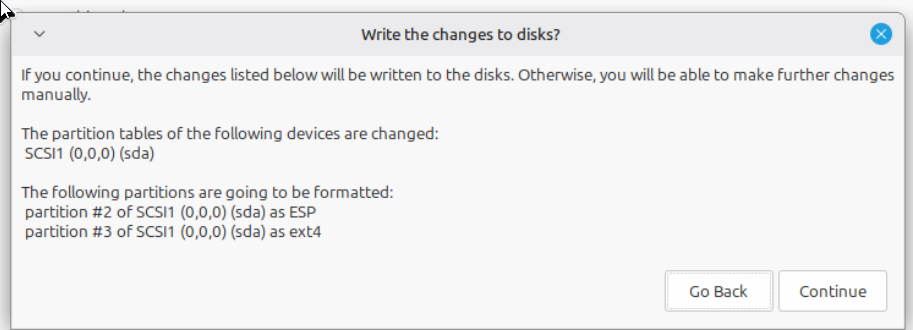
Selet "Erase disk and install Linux Mint" and click "Install Now"
Click continue on the partitions prompt
Fill in the location, username, password and other prompts.
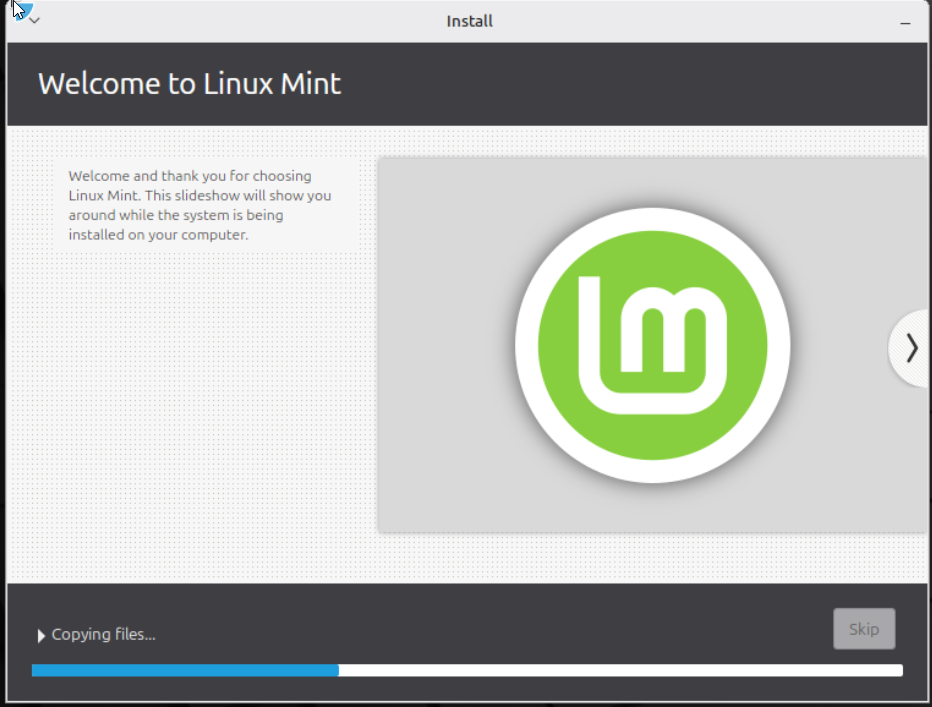
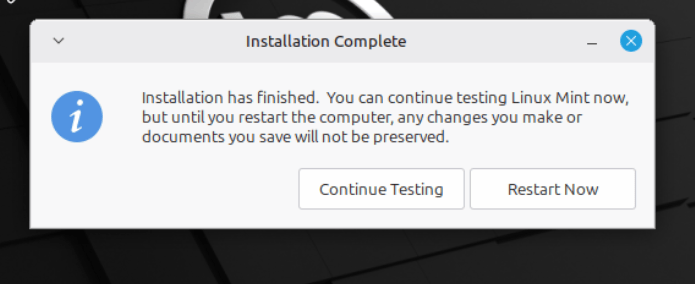
Click Next and wait for installation to complete
Once installation is finished, click "Restart Now" on the next prompt.
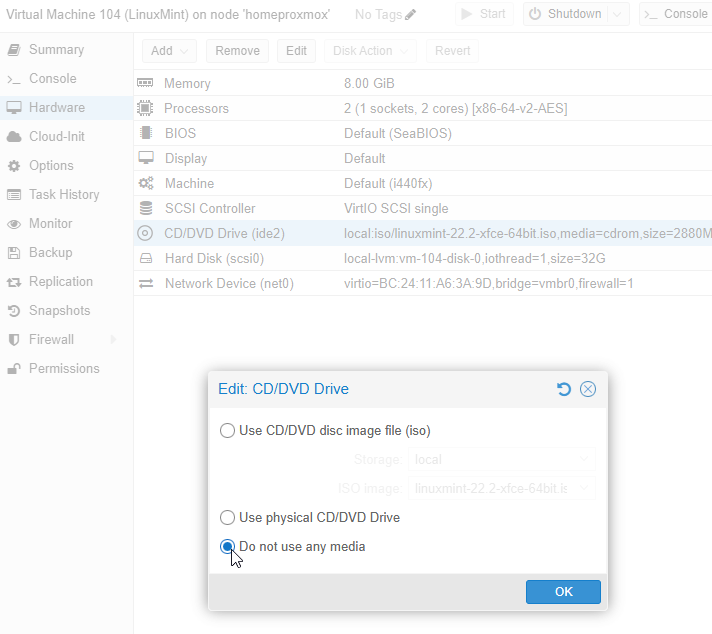
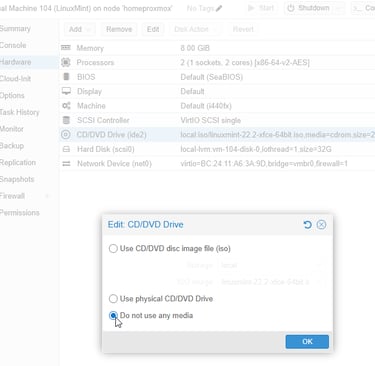
Upon reboot, When prompted to remove the installation medium, select Hardware from the left sub-navigation menu > Double click the CD/DVD drive > Select Do not use any media > Click OK
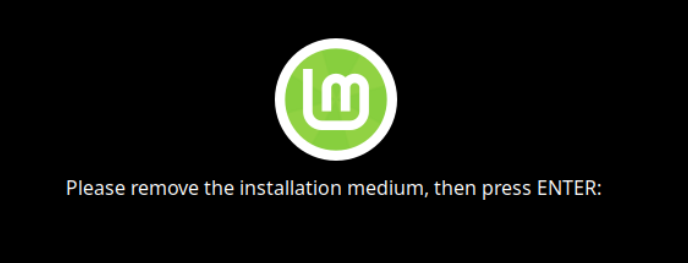
Once installation medium is removed, hit Enter on the "Console".
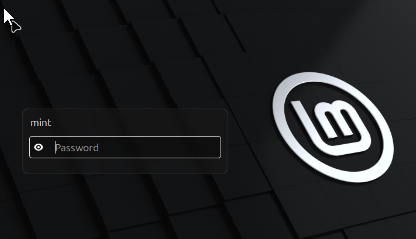
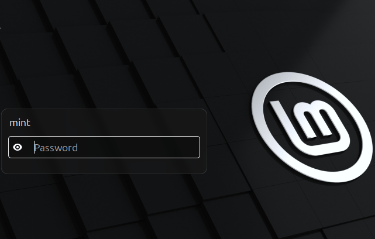
Once the LinuxMint VM boots up, enter the password which was setup during step 13.
After login, Go through the updates and shutdownt the VM. Important note : To update properly, select local mirror instead of defaults.
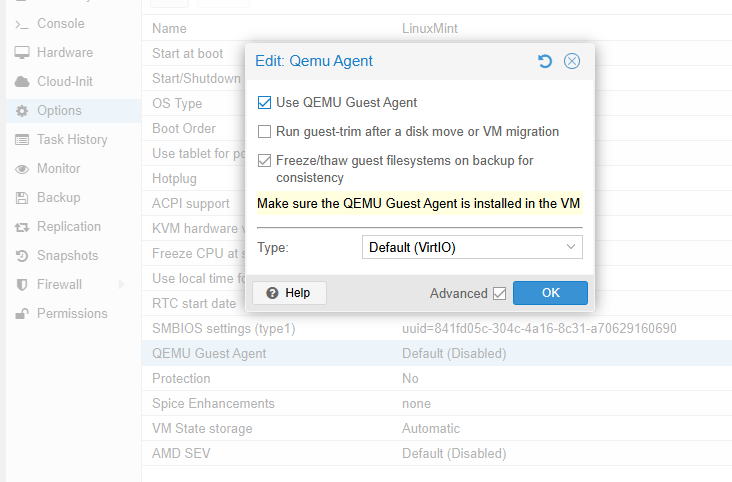
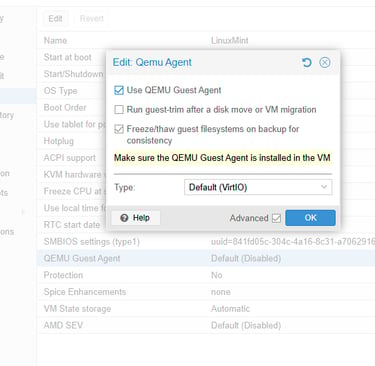
Click on the options in the middle pane and double click "QEMU Guest Agent"
Enable "Use QEMU Guest Agent" option and click OK
Start the VM.